Using Turnitin
Creating a Turnitin assignment in WebCampus
Step 1: Select the course in which you would like to create your assignment.
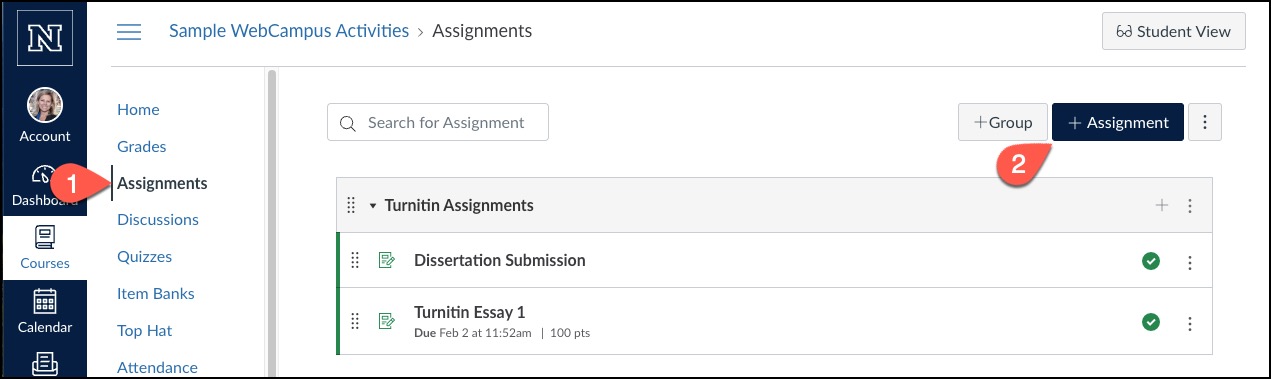
Step 2: From the left-hand navigation, select Assignments (1) and select the + Assignment button (2).
Step 3: Enter an Assignment name into the box provided and customize the following assignment settings:
- Directions
- Point value
- Assignment group
- Display grade as
Step 4: Choose Online as the submission type, and then choose Text Entry or File Uploads (or both).
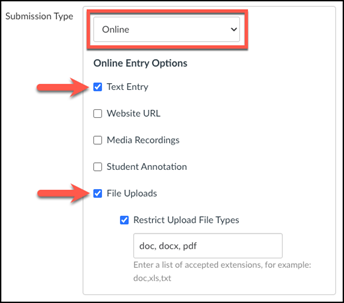
If you want to ensure that students are submitting file in which Turnitin can generate a similarity report, choose to Restrict Upload File Types to readable text files such as pdf, doc, docx, pptx, etc. For more information on files that Turnitin accepts, click here.
Step 5: Choose the number of submission attempts you want to give to your students.
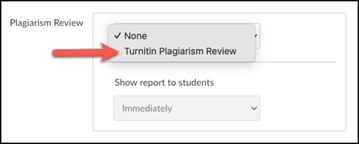
Step 6: Select Turnitin from the Plagiarism Review drop-down menu.
Step 7: Once you have selected Plagiarism Review in the drop down, additional options will appear. Choose to store papers in the repository or not, choose to which repositories you want to compare the submissions, choose to exclude the bibliography, quoted material, translated matching (if enabled), and small sources as needed.
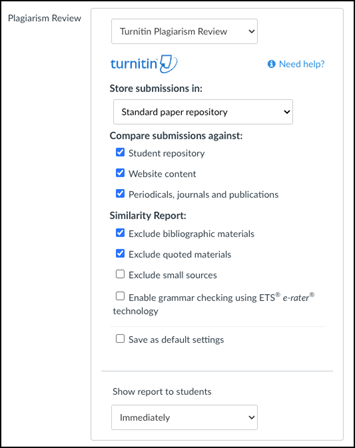
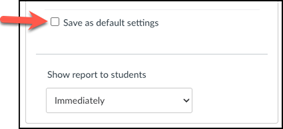
Step 8: Choose if you would like to Save these settings as default settings and when you want to show the originality report to students.
Step 9: Choose if this is going to be a Group Assignment, if you want to use Canvas Peer Review, and if you want to enable Anonymous Grading.
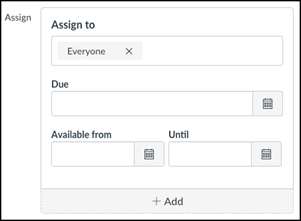
Step 10: Assign this to Everyone or Everyone Else to ensure the due date is reflected in Turnitin. Choose a Due Date, Available from date, and an Until date as needed.
Step 11: Select Save and publish to publish this assignment. Select Save to save the assignment without publishing.
Interpreting the Similarity Report
After students have submitted the assignment to WebCampus, the Similarity Report is generated and is visible in the Assignment Inbox for you (and students if allowed) to interpret.
For help with accessing and understanding the Similarity Report see Turnitin guides, especially:
- Accessing the Similarity Report
- Understanding the Similarity Report
- Refining a Similarity Report
- Viewing Similarity Matches
Grading a Turnitin Assignment
Turnitin Assignments are easy to grade in the WebCampus SpeedGrader and integrate well with the Gradebook.
Step 1. In WebCampus, go to the Assignment and click on the SpeedGrader button in the top right corner.
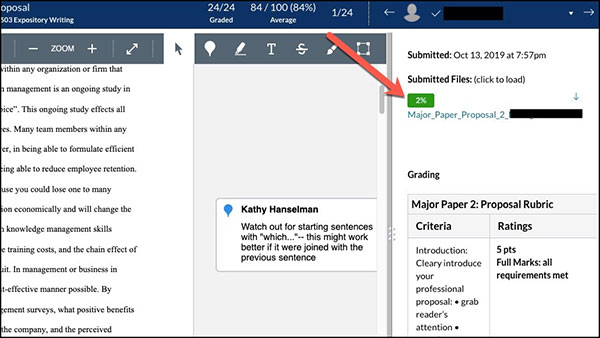
Step 2. Click the Turnitin Similarity Score to view and interpret the Similarity Report as part of the grading process.
Step 3. Use SpeedGrader to grade the paper in WebCampus, then click Apply Score to Grade.
Step 4. Return to the SpeedGrader and refresh. The grade from GradeMark will appear.
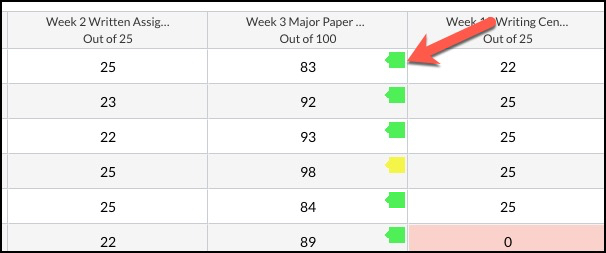
Step 5. Grades in the SpeedGrader and Turnitin data are synced with WebCampus grades and accessible through the Grades tab on the course menu.
Guiding students in using Turnitin
If you use Turnitin, students may need some guidance understanding the Similarity Report. Before submitting work, students should be informed
- What plagiarism is and how to avoid it: see for example the University Library’s Avoiding Plagiarism.
- What Turnitin does and how to use it: make students aware of Turnitin’s Student Guide to Turnitin.
- Where to submit the Turnitin assignment: direct students to the WebCampus Assignment, not to Turnitin.com.
- What file types will be accepted: generally, Word files with extension .doc or .docx. If using a Mac, students should check “Append file extension” when saving the file. For more information, see File Types and Sizes.
- Whether or not late submissions will be accepted: according to your Optional Settings.
- Whether or not students will be able to view the report and resubmit an assignment after viewing the report: according to your Optional Settings.
- Whether or not students are allowed to resubmit work: they may need additional instruction on how to use the report; i.e. to improve the originality of paraphrased sections, the accuracy of quotes and citations, the quantity of sources used, or perhaps the quality of sources being used.