Adding video to discussion posts
Embedding video in discussion posts in WebCampus
Learn how to include video clips in your discussion board posts using the My Media interface.
Step-by-step instructions
Step 1: Login in to WebCampus.
Step 2: Browse to the Discussion in your WebCampus course.
Step 3: Click Reply to create your post.
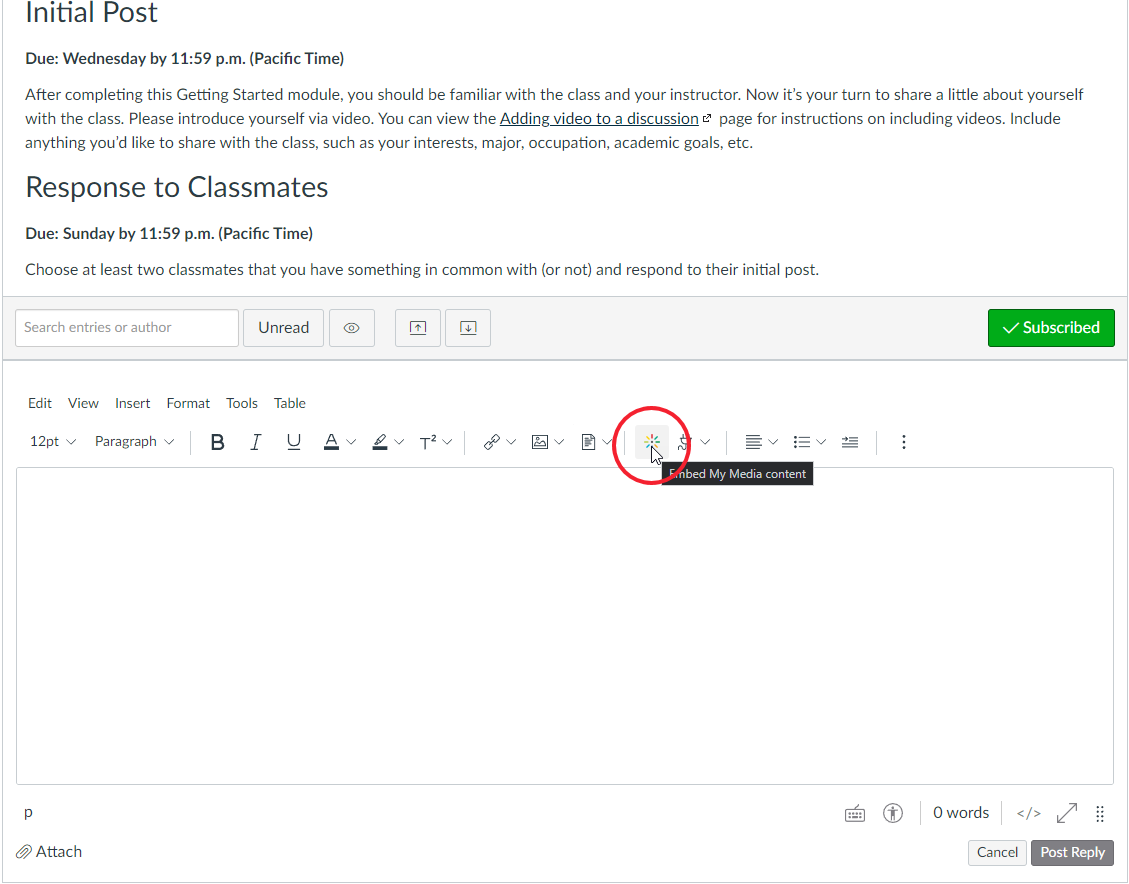
Step 4: In the area that expands, click the Embed Kaltura Media icon in the Text Editor.
Step 5: In the window that opens, either select one of the videos you have already uploaded by clicking Select adjacent to the video or click the Add New drop-down menu and select Media Upload to add a new file, or Kaltura Capture to create a new video. For the purposes of these instructions we will add a new video file.
Step 6: In the Upload Media window, click Choose a file to upload.
Step 7: Browse to the file you would like to upload from your computer and click Open.
Step 8: When you return to the Upload Media interface, you have the option to update the Name of the video and add a Description and/or Tags to the video.
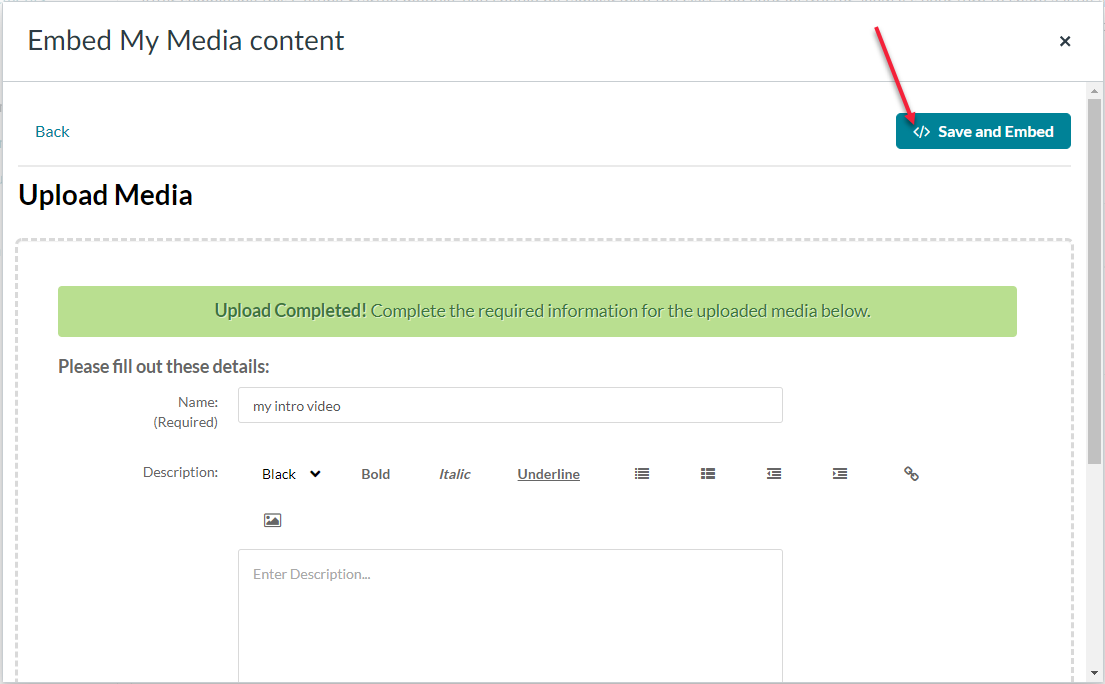
Step 9: Click Save and Embed to embed the video in your post.