Navigate Student app guide
The Navigate Student app is here and ready to be downloaded on your mobile device. Along with appointment scheduling, this app helps you manage the things you need to do to get registered and stay on top of your classes. Follow the instructions below to download and start using the Navigate Student app.
Download the app
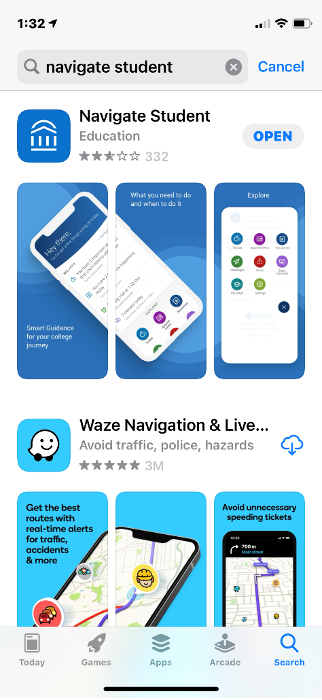
- Download the app by searching Navigate Student in the app store of your mobile device.
Log in
- Log in using your NSHE ID and password.
- Complete the introductory surveys. (There are three surveys.)
NOTE: These surveys only appear once when you first download and log into the app. Submissions will allow us to better understand your current situation and get you connected to the right resources for you. Once you have completed your surveys you will be taken to your homepage.
Schedule an advising appointment
- On your homepage select the “Appointments” button in the "Explore" section.
- Then select the “Schedule an appointment” button at the bottom of the page.
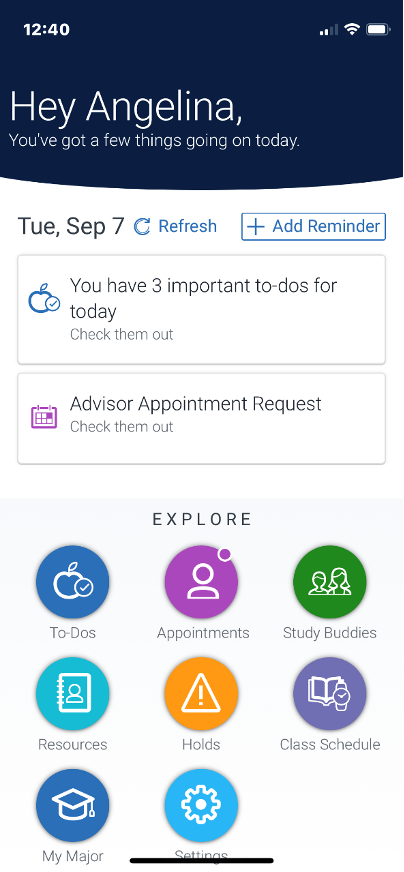
Figure 3. A screenshot of the user's homepage after logging in. Near the top of the screen, the current date and calendar events are shown. There is an "Explore" menu featuring eight options: To-Dos, Appointments, Study Buddies, Resources, Holds, Class Schedules, My Major and Settings.
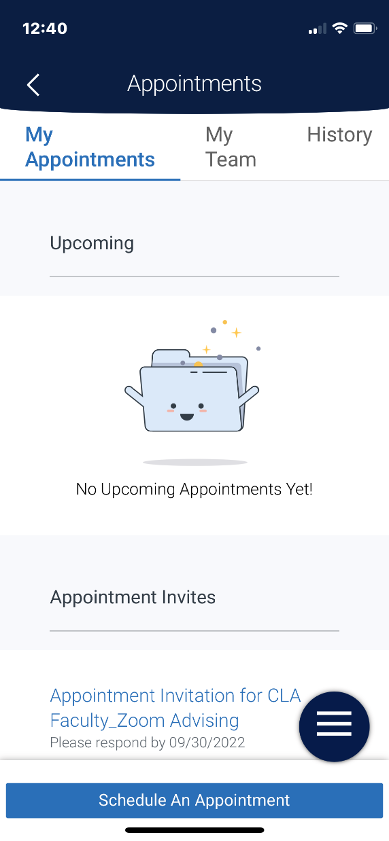
Figure 4. A screenshot of the Appointments section. The section contains three options to select near the top: My Appointments, My Team, History. The middle section shows currently scheduled appointments. Near the bottom, there is a blue "Schedule An Appointment" button.