Adding courses to PointSolutions
Adding courses to your PointSolutions account
Learn how to activate your courses from WebCampus in PointSolutions.
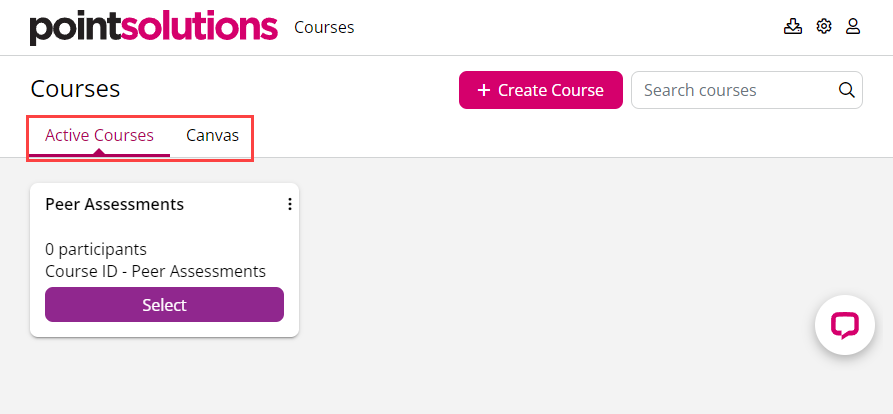
To sync the course roster and upload/push students’ participation grades from classroom polling to WebCampus, you need to make your course active in PointSolutions. To do so, log in to your PointSolutions account using the registration link in WebCampus. You will be taken to the Courses page where you can manage your content and courses.
You will see two tabs: Active Courses and Canvas. Click on the Canvas tab. The first time you access this tab you will be asked to authorize PointSolutions to access your courses on Canvas. Once authorization is complete, you will see a list of all the courses in which you have an instructor role. Note that only courses published in WebCampus will appear on the list. Click Add under the courses you want to activate, then switch to the Active Courses tab to view your course(s).
Click Select on the course tile to view the Roster (and check students’ subscription status and LMS connection), create content for web-based polling, organize content using folders, schedule content for polling, review polling results, sync grades with WebCampus, and more.
